Day 16 - zsh, color schemes and auto-mounting partitions with an elegant password prompt
05 Mar 2017 100daysofwriting · installation · programming · setup · ubuntuThis is part 2 of the installation diary. While the backing up and install process was done, an installation is only complete after everything goes back to normal.
Step 1: shell, aliases, functions. I maintain a good dotfiles repository, which I have improved over time. The bootstrap script is a shell script that does a lot of stuff. I use it in my default User data on Digital Ocean droplets, when I create one, and it works really well! This will install my shell of choice: zsh, and will also install all the other basic things that are definitely required: ruby, node, vim. This gives a great point to start at for other packages that you also need but can do without for some time.
There was a slight hiccup in the zsh installation, probably because something
has changed in the zsh readme or setup (?), but I didn’t care to spend any more
time there, so I quickly ran the script that was there on the readme, and zsh
was installed with my favourite oh-my-zsh theme: ys. It’s a theme that uses only
basic ASCII characters that ensures that it will work on all machines! I hate
seeing boxes where tick marks should have been. The way ys shows an updated
git tree with a green o. And un-updated trees are shown with a red x. Both
of those choices are great, and completely compatible! So great.
Step 2: After this, comes the all important color scheme setup. The color scheme must be Solarized Dark. (Not really, I just love it a lot more than any other scheme. To each, their own!) I use base16 because there is a regression in the earlier one I used (gnome-terminal-solarized issue #32) There has been extensive discussion on this issue and a related issue solarized issue #220. I first encountered this issue when I was switching to gnome-terminal-solarized from the default solarize option that is available in the preferences menu. Clearly, nothing has been fixed or updated since then! I couldn’t understand a lot of the discussion on that issue unfortunately. Anyway, base 16 provides a good dark 256 base which works pretty well! The solarized dark 16 color scheme doesn’t work because the color of the bold text used for listing executable files is almost the same as the background color and completely invisible. Examples ahead:

Fig 1: see the a.out file’s color. It’s hardly visible

Fig 2: ah, much better!
(I zoomed into the terminal for taking those screenshots, and did that look gorgeous! :D And I am only on a 1080p ancient Samsung Matt finish monitor. I think it’s the Matt finish of the display that makes this look so great! If you have matt finish, then you probably know what I am talking about out. If not, well!)
Step 3: Partitions: Mounting the un-encrypted partitions AND the encrypted partitions, all at startup in a proper fail safe manner. No one should be able to read anything!
This happened in two iterations because I made a mistake the first time around.
I added this line to /etc/crypttab: code UUID=...
Restarted the computer. The boot failed. Booting from recovery and trying to get
in dropped me into a root shell which thankfully had write-access to the disk. I
removed the offending lines from the crypttab and restarted, and things were
fine once more.
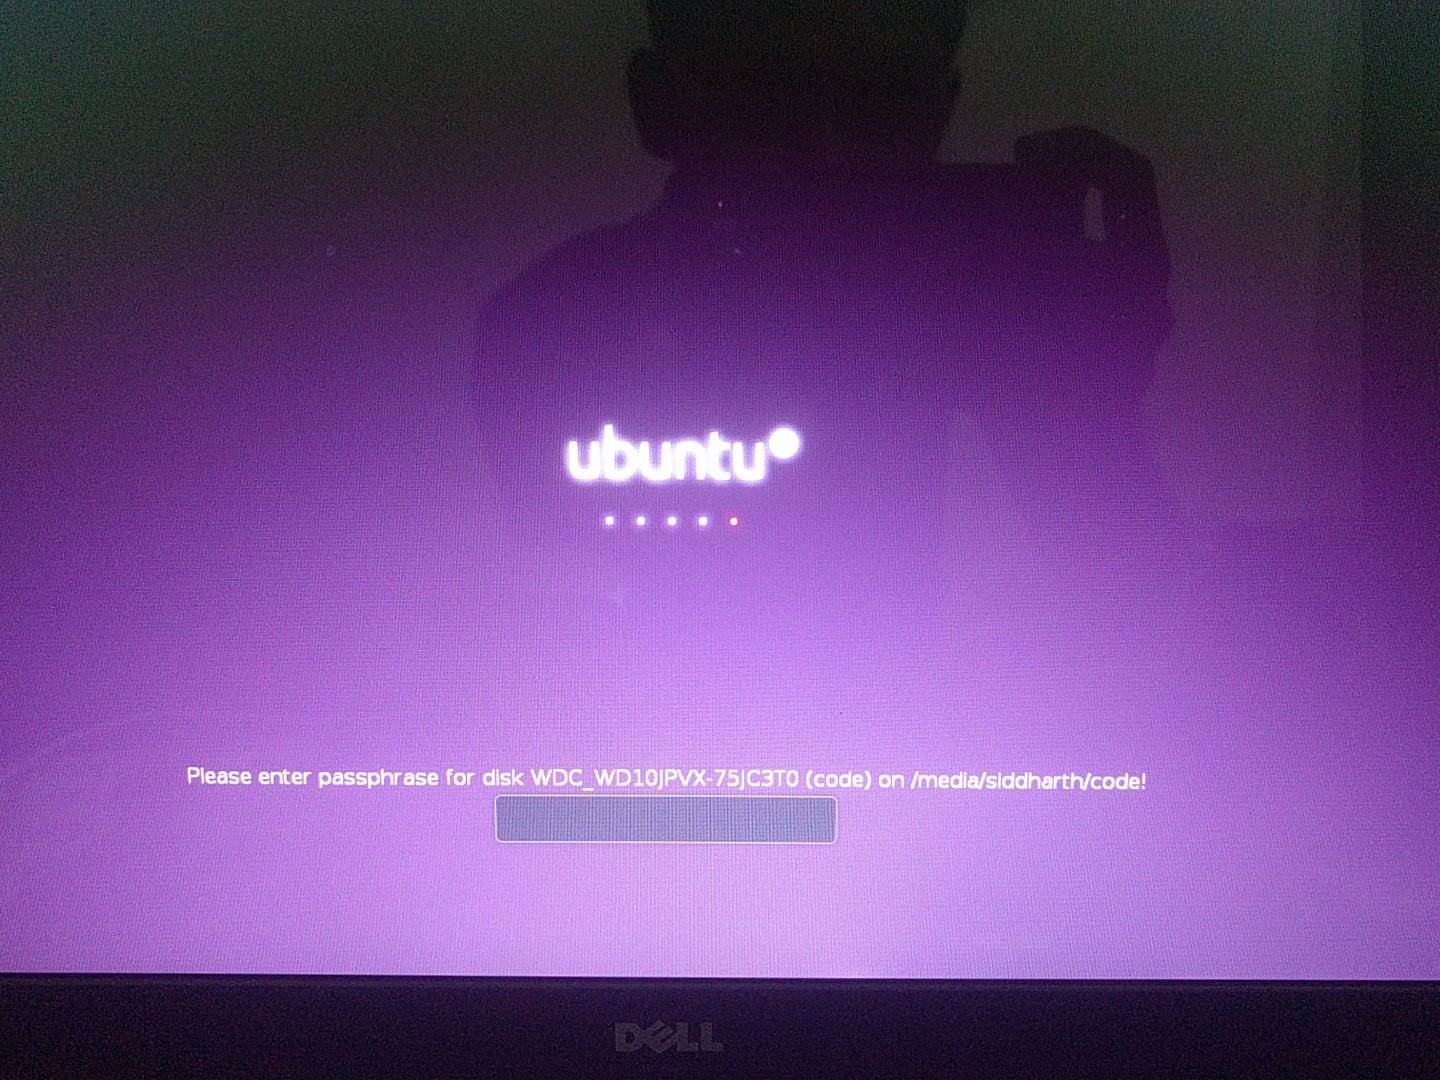
The second time, I did it right: Thanks to this tutorial. I was a bit doubtful about this because it didn’t have a picture of how the interactive password prompt looked like (it actually looks really good!) and it’s 5 years old. Anyway, I took the plunge and it worked. On to the un-encrypted NTFS and FAT32 partitions.

These were much simpler. I used udisks in Ubuntu 14.04. Now, that command has
changed to a simple udisksctl -b /dev/sda3 etc. Add this to the Startup
Programs list that comes up when you search on the Dash, and you are done! Much
easier.
So, thus, I am more or less done with my installation. It was a pleasant process except for the backing up part which was a bit problematic because of the sheer lack of space! More stories tomorrow.
POST #16 is OVER